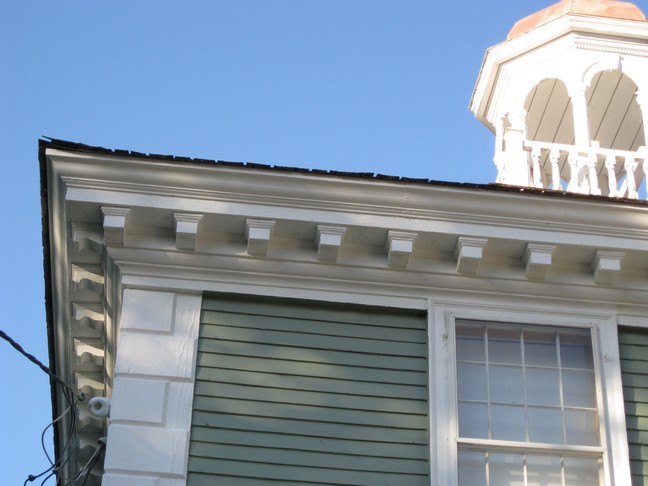
This
page illustrates the process for making a large architectural cornice
molding in the traditional manner using hand planes.
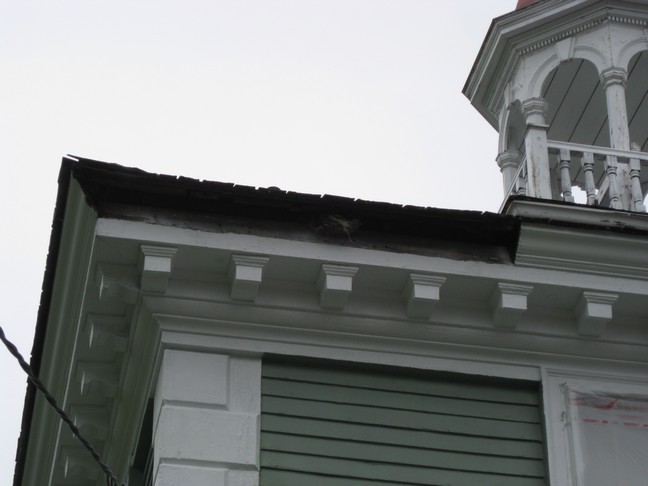
Due
to some long term water leakage, a portion of the cornice molding on
the original Westford Academy building (1794), now the Westford
Museum,
had suffered significant damage. Below is an image of that
corner,
including a newly exposed bird's nest, as it appeared after the
rotted cornice was removed. The cornice was
not an original 18th century molding, but rather material that was
added
during the building's restoration in the late 1970's and early '80's.
In any case, it needed to be replaced with a matching molding, and
rather than search for a replacement, or have a custom cutter
produced for use in a modern molding machine, I offered to
make a
new 8' section using handplanes.
In
the 18th and a good portion of the 19th century, cornice moldings such
as
these were often made using a combination of hollows and rounds,
and rabbet planes.
For example, the cornice shown above would typically require
two
pairs of hollows and rounds, a rabbet plane, and a couple of
bench planes -- seven different
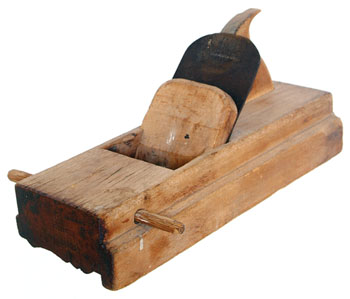
planes. Alternatively, dedicated cornice planes such as the
one
shown to the right were developed in the 18th century. What
this
plane provides in terms of simplicity, requiring a single plane, is
countered with the need for significant brute force. Given
the
incredibly wide
cutting profile, this plane required two fairly strong men to operate,
one pushing, and the other pulling a rope attached to the
crossbar.
Since
I don't own a large, dedicated cornice plane that matches the existing
profile, what follows is a description of the steps taken to create a
replacement molding using several hand planes. Using
this
method, along with a comprehensive set of hollows and rounds, one can
reproduce essentially any molding.
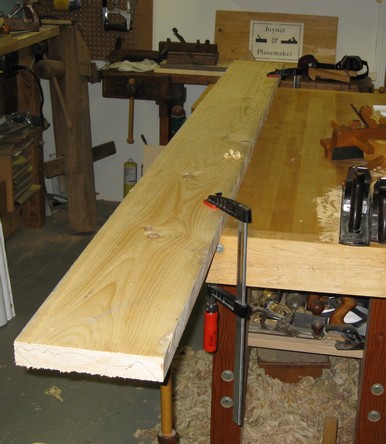
The
starting material was a piece of rough sawn, air dried 2x10 pine.
The piece was planed flat and cut to width prior to tracing
the
old molding profile on both ends. The edges were jointed
straight using a large jointer plane.
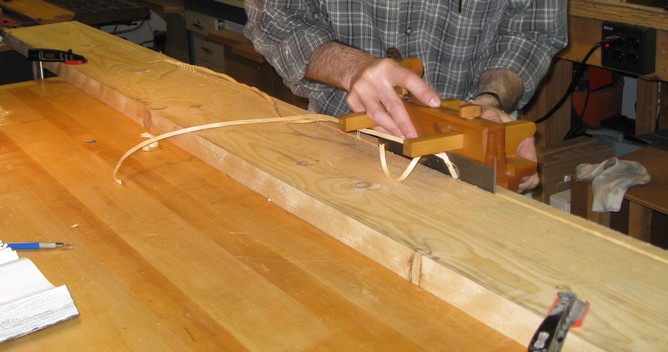
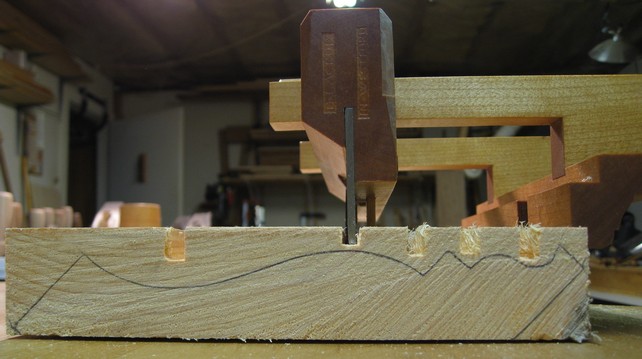
Below,
a plow plane is used to produce grooves coincident with the inflection
points of the profile. These will serve to guide the
subsequent
planes and provide help in judging the profile depth along the
entire length of the board. Using a wider iron also helps to
quickly remove excess material.
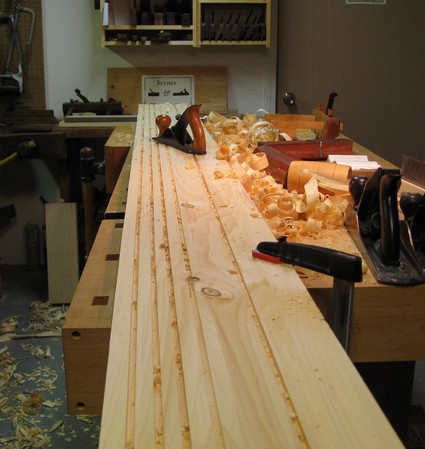
At
this point I realized that I should have planed the board down some
more before starting, so I simply used a scrub plane to hog away more
of the surface.
Below,
the work of the #18 round plane is nearly complete.
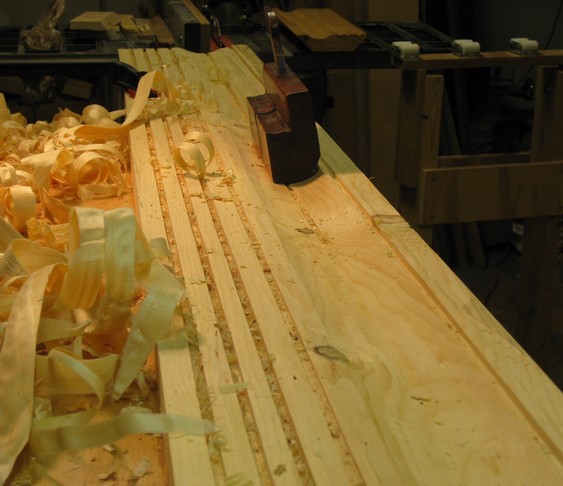
The
profile with the first section complete:
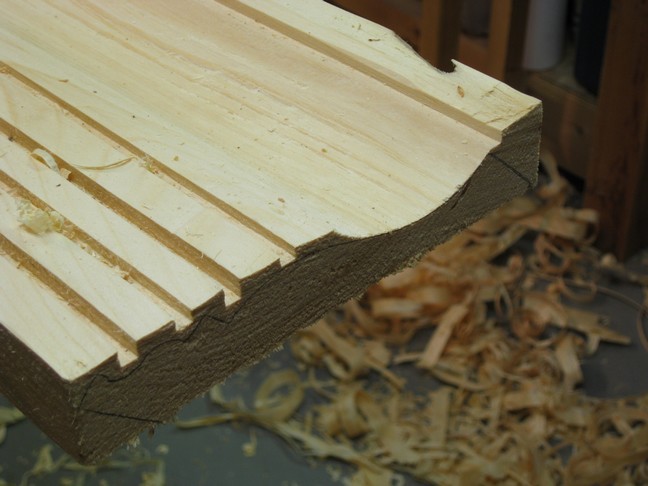
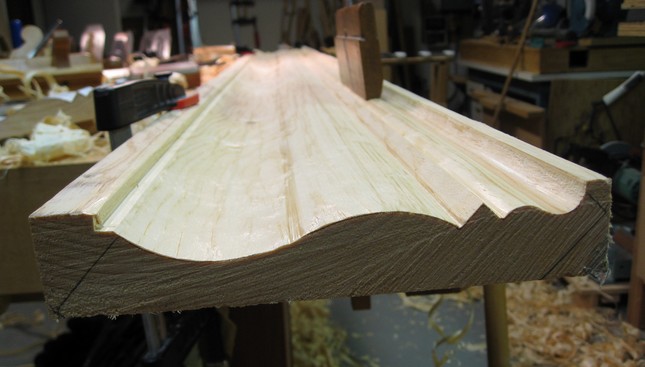
And
here's the profile after using the #18 hollow plane, a rabbet, and a
smaller hollow and round pair. One of the hollow planes is
shown
on it's resulting profile.
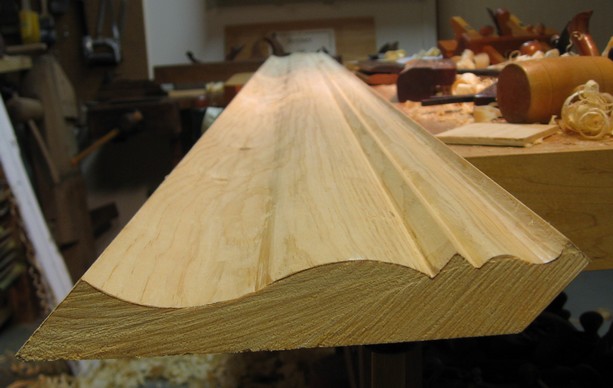
And
finally, after beveling the profile edges the cornice molding is
complete:
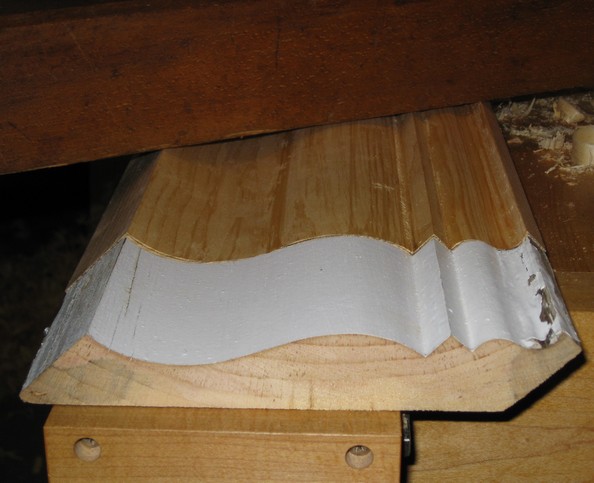
The
completed molding next to a small section of the original:
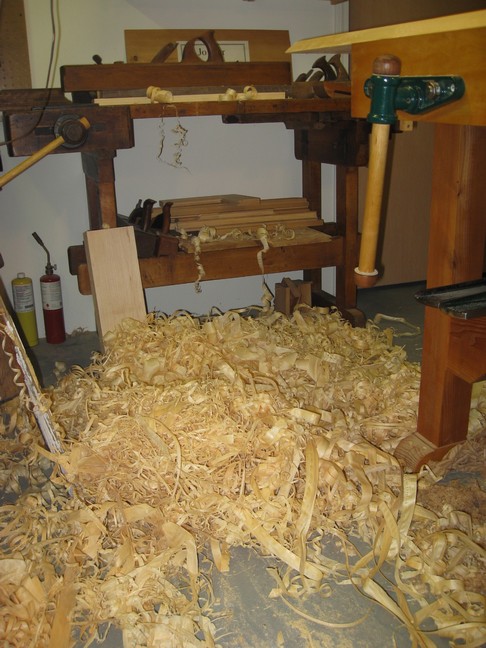
Removing
all of that material results in a bit of waste. The beauty of
hand planes, however, is that the waste doesn't end up in the form of
dust, and potentially in your lungs. Here's just one of the
piles:
The
final product on the Museum following installation and painting:
